


How To Take The Headache Out Of Cap Embroidery
By Bunny Eisele
Almost any cap can be embroidered if you have the right equipment, frames, design, supplies, and knowledge. But this doesn’t mean you should take every cap job that comes your way. The first question to ask is “Can I do it at a profit?” I’ve learned to turn down labor-intensive or difficult jobs where I can’t make enough money to compensate for my time.
Here, I’ve listed some basic guidelines to follow that will eliminate most of the frustration that embroiderers experience with doing caps.
Digitize for a cap. Even if the original job is for a left chest design, consider the worst-case scenario and digitize it for a cap. Nine times out of 10, you’ll end up putting the design on a cap at some point.
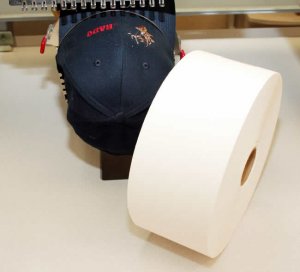
Get a good cap frame. Use only tight, stable cap frames and take good care of them to avoid dents or warping. I prefer Hoop Tech devices for caps, but each shop must test to find the method that works best. The biggest trick is repetition. You need come up with a procedure to hoop reasonably quick. To be profitable, you should be hooping caps in less than one minute. I have an operator who can hoop headwear in six seconds or less.
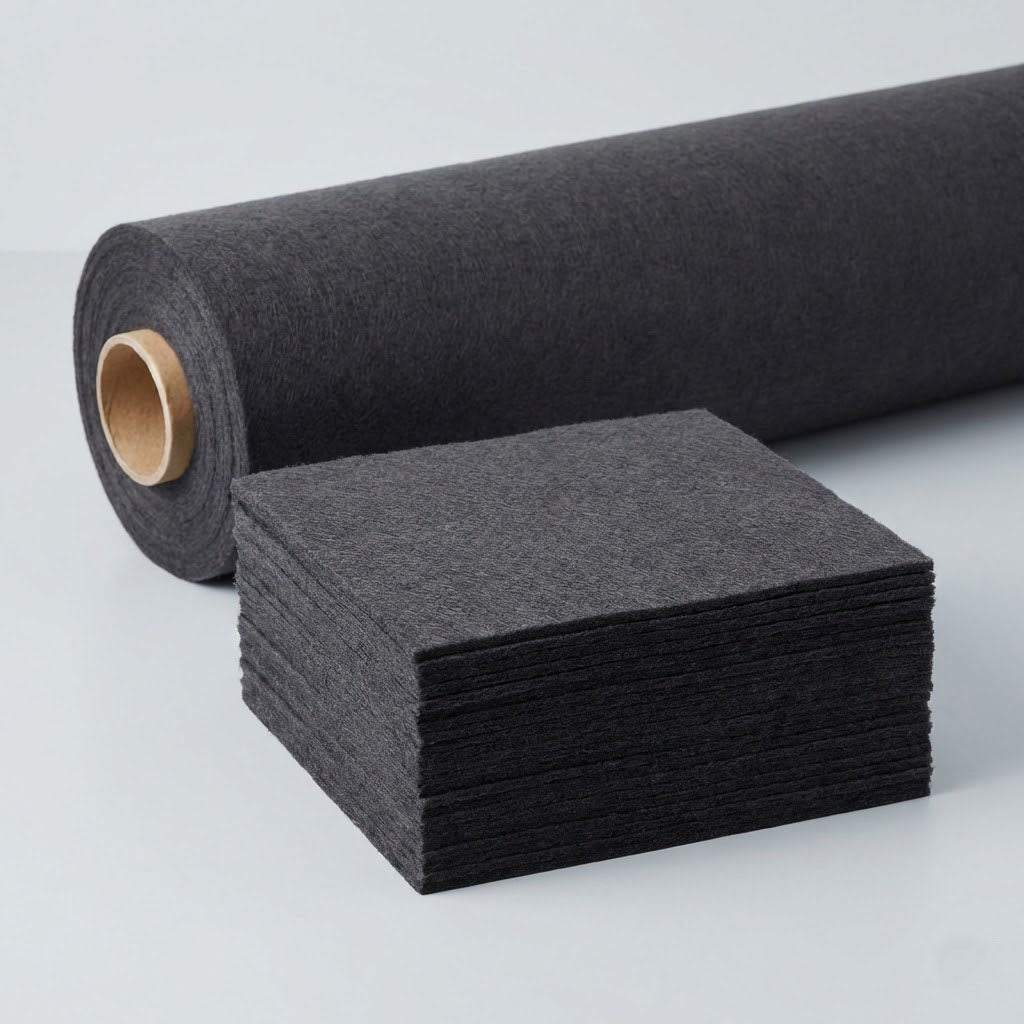
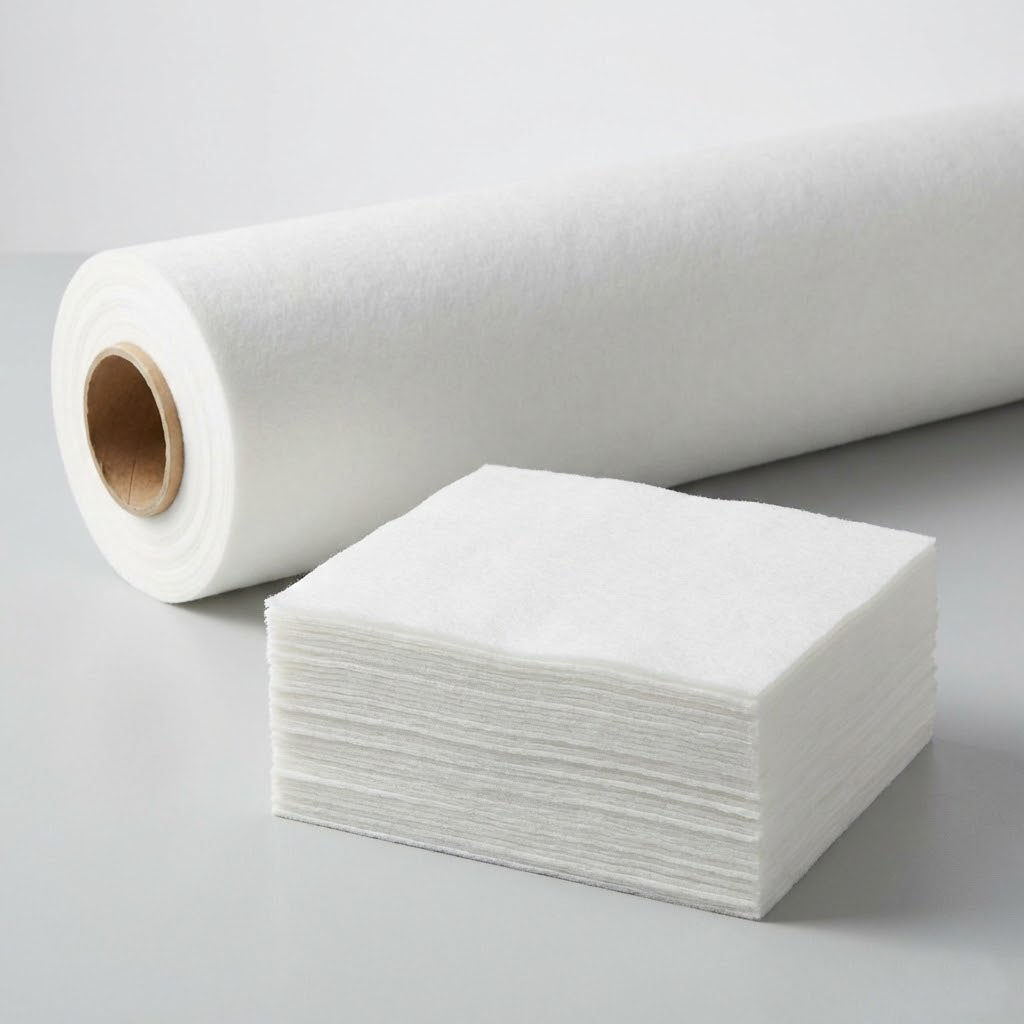
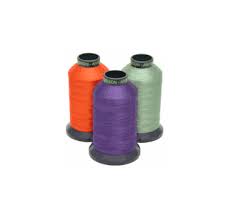
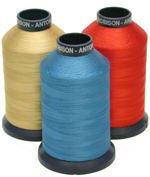
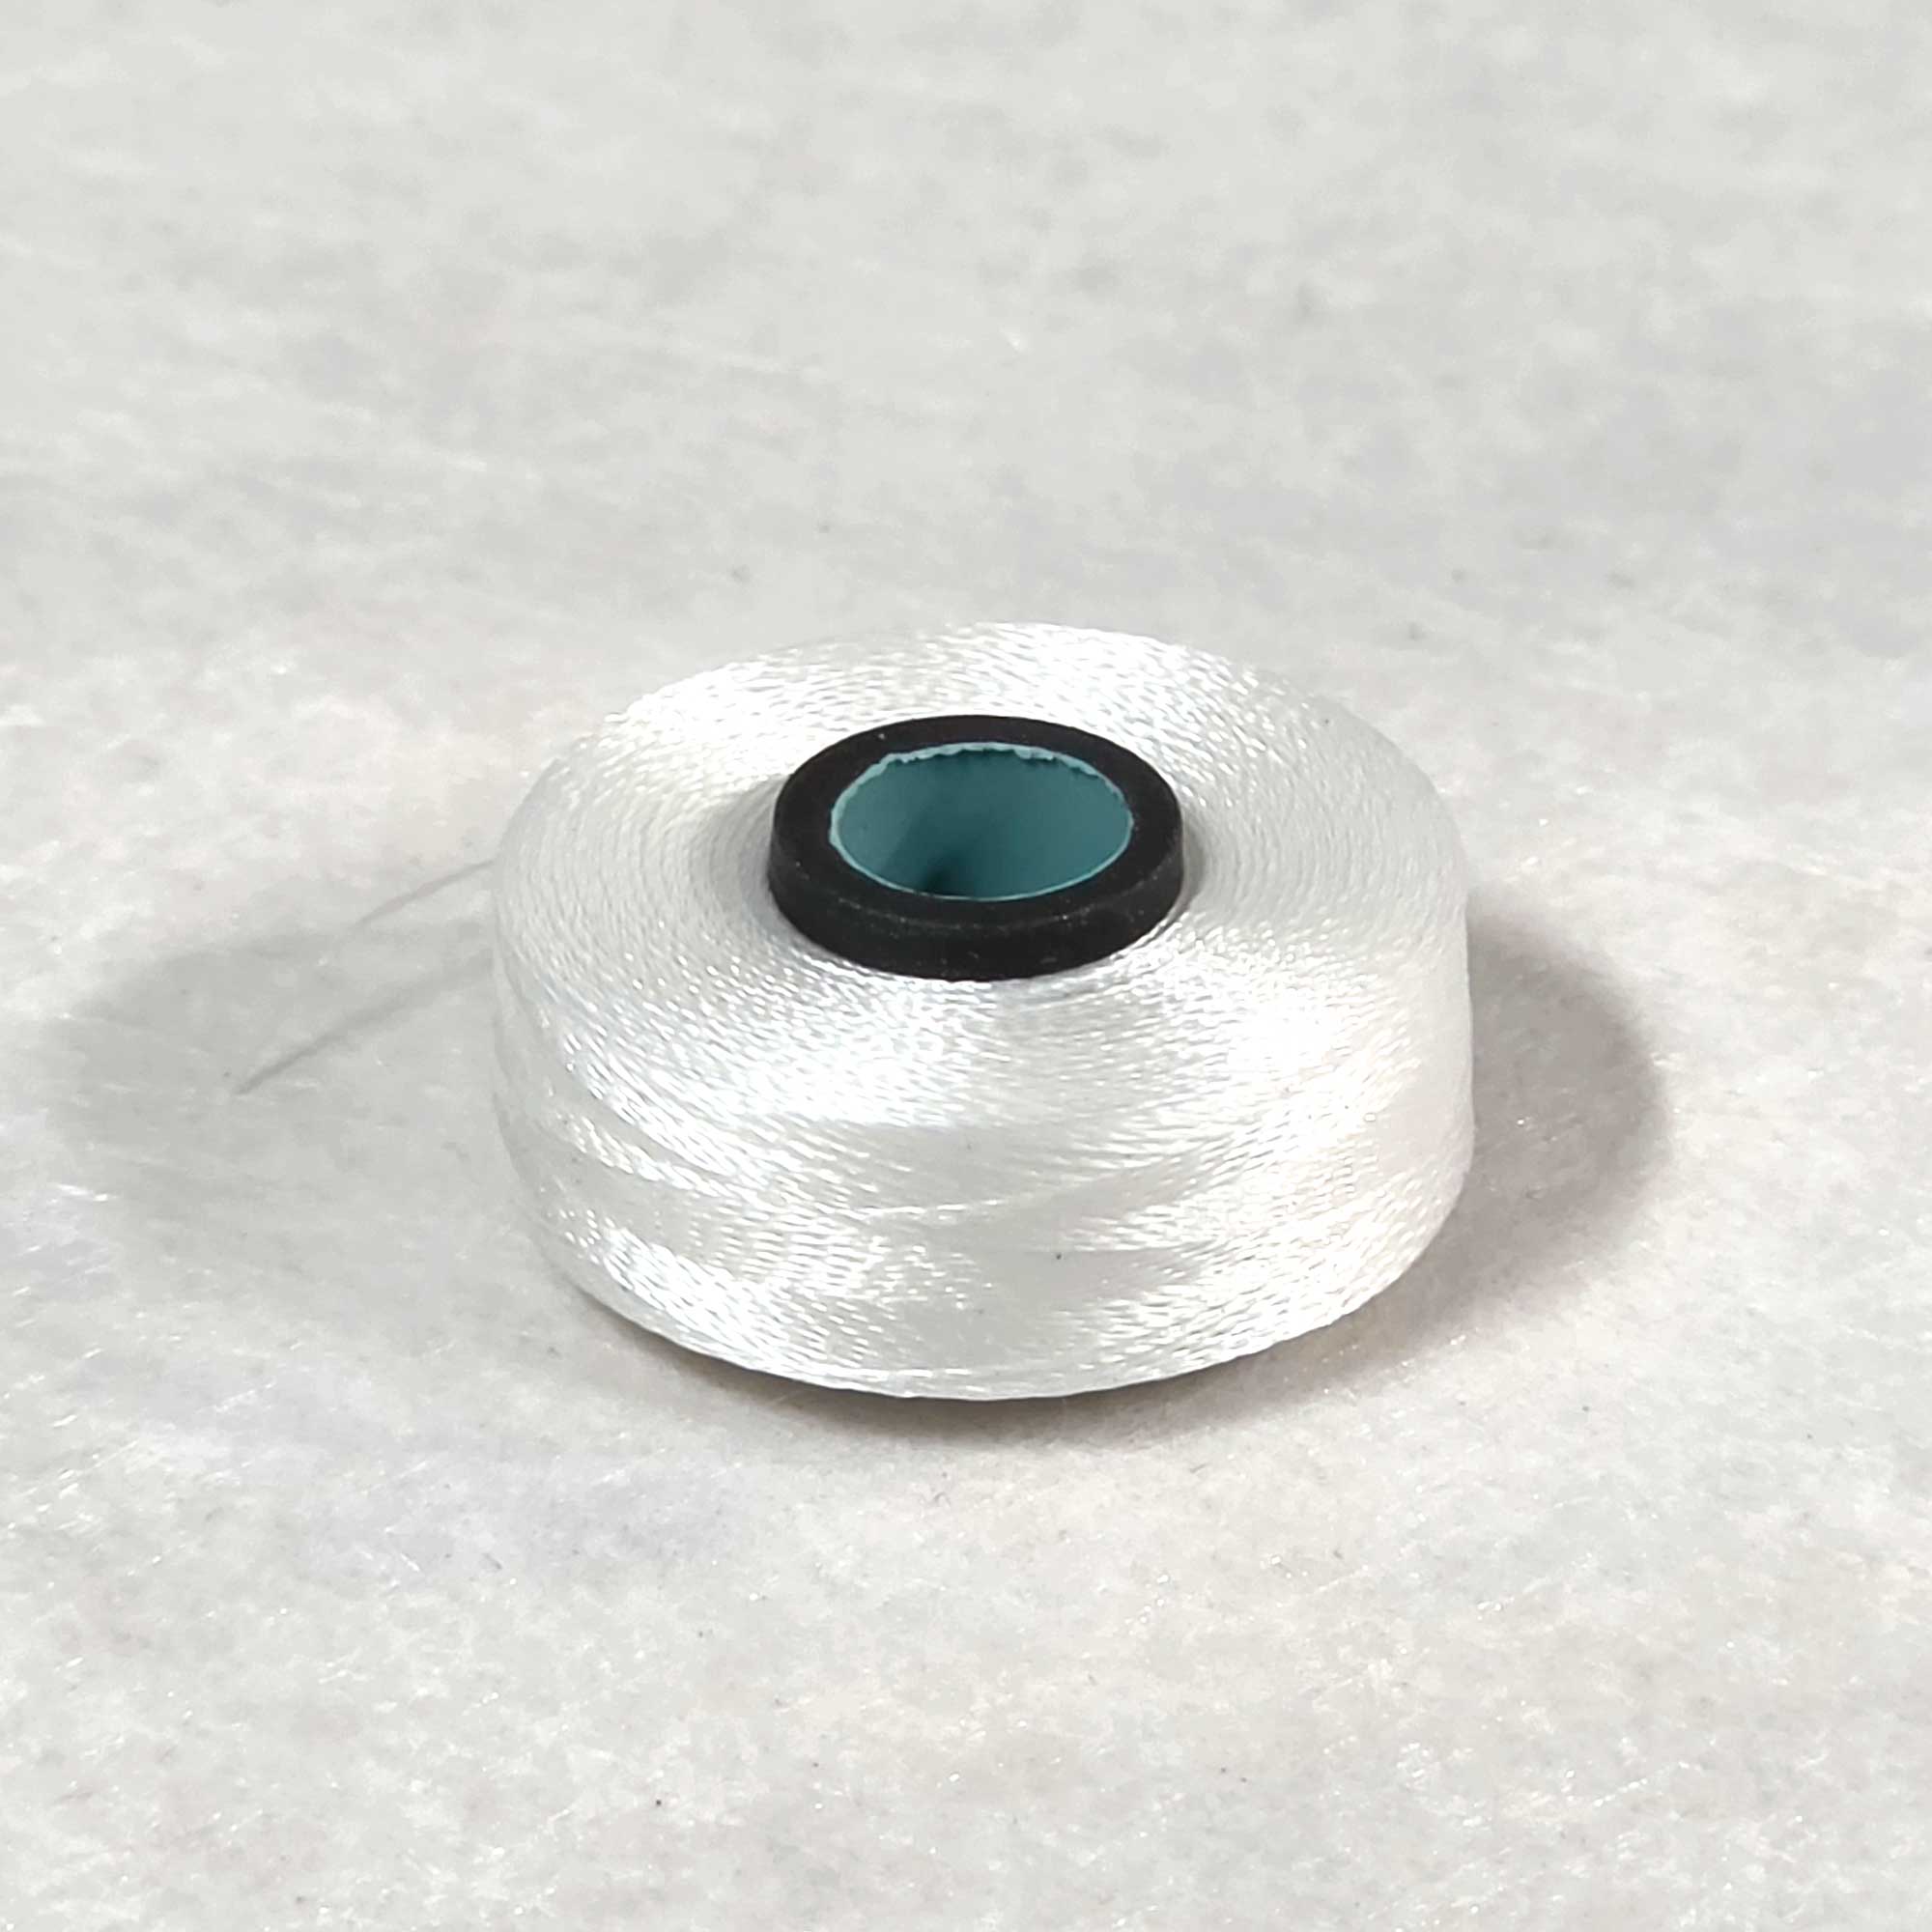
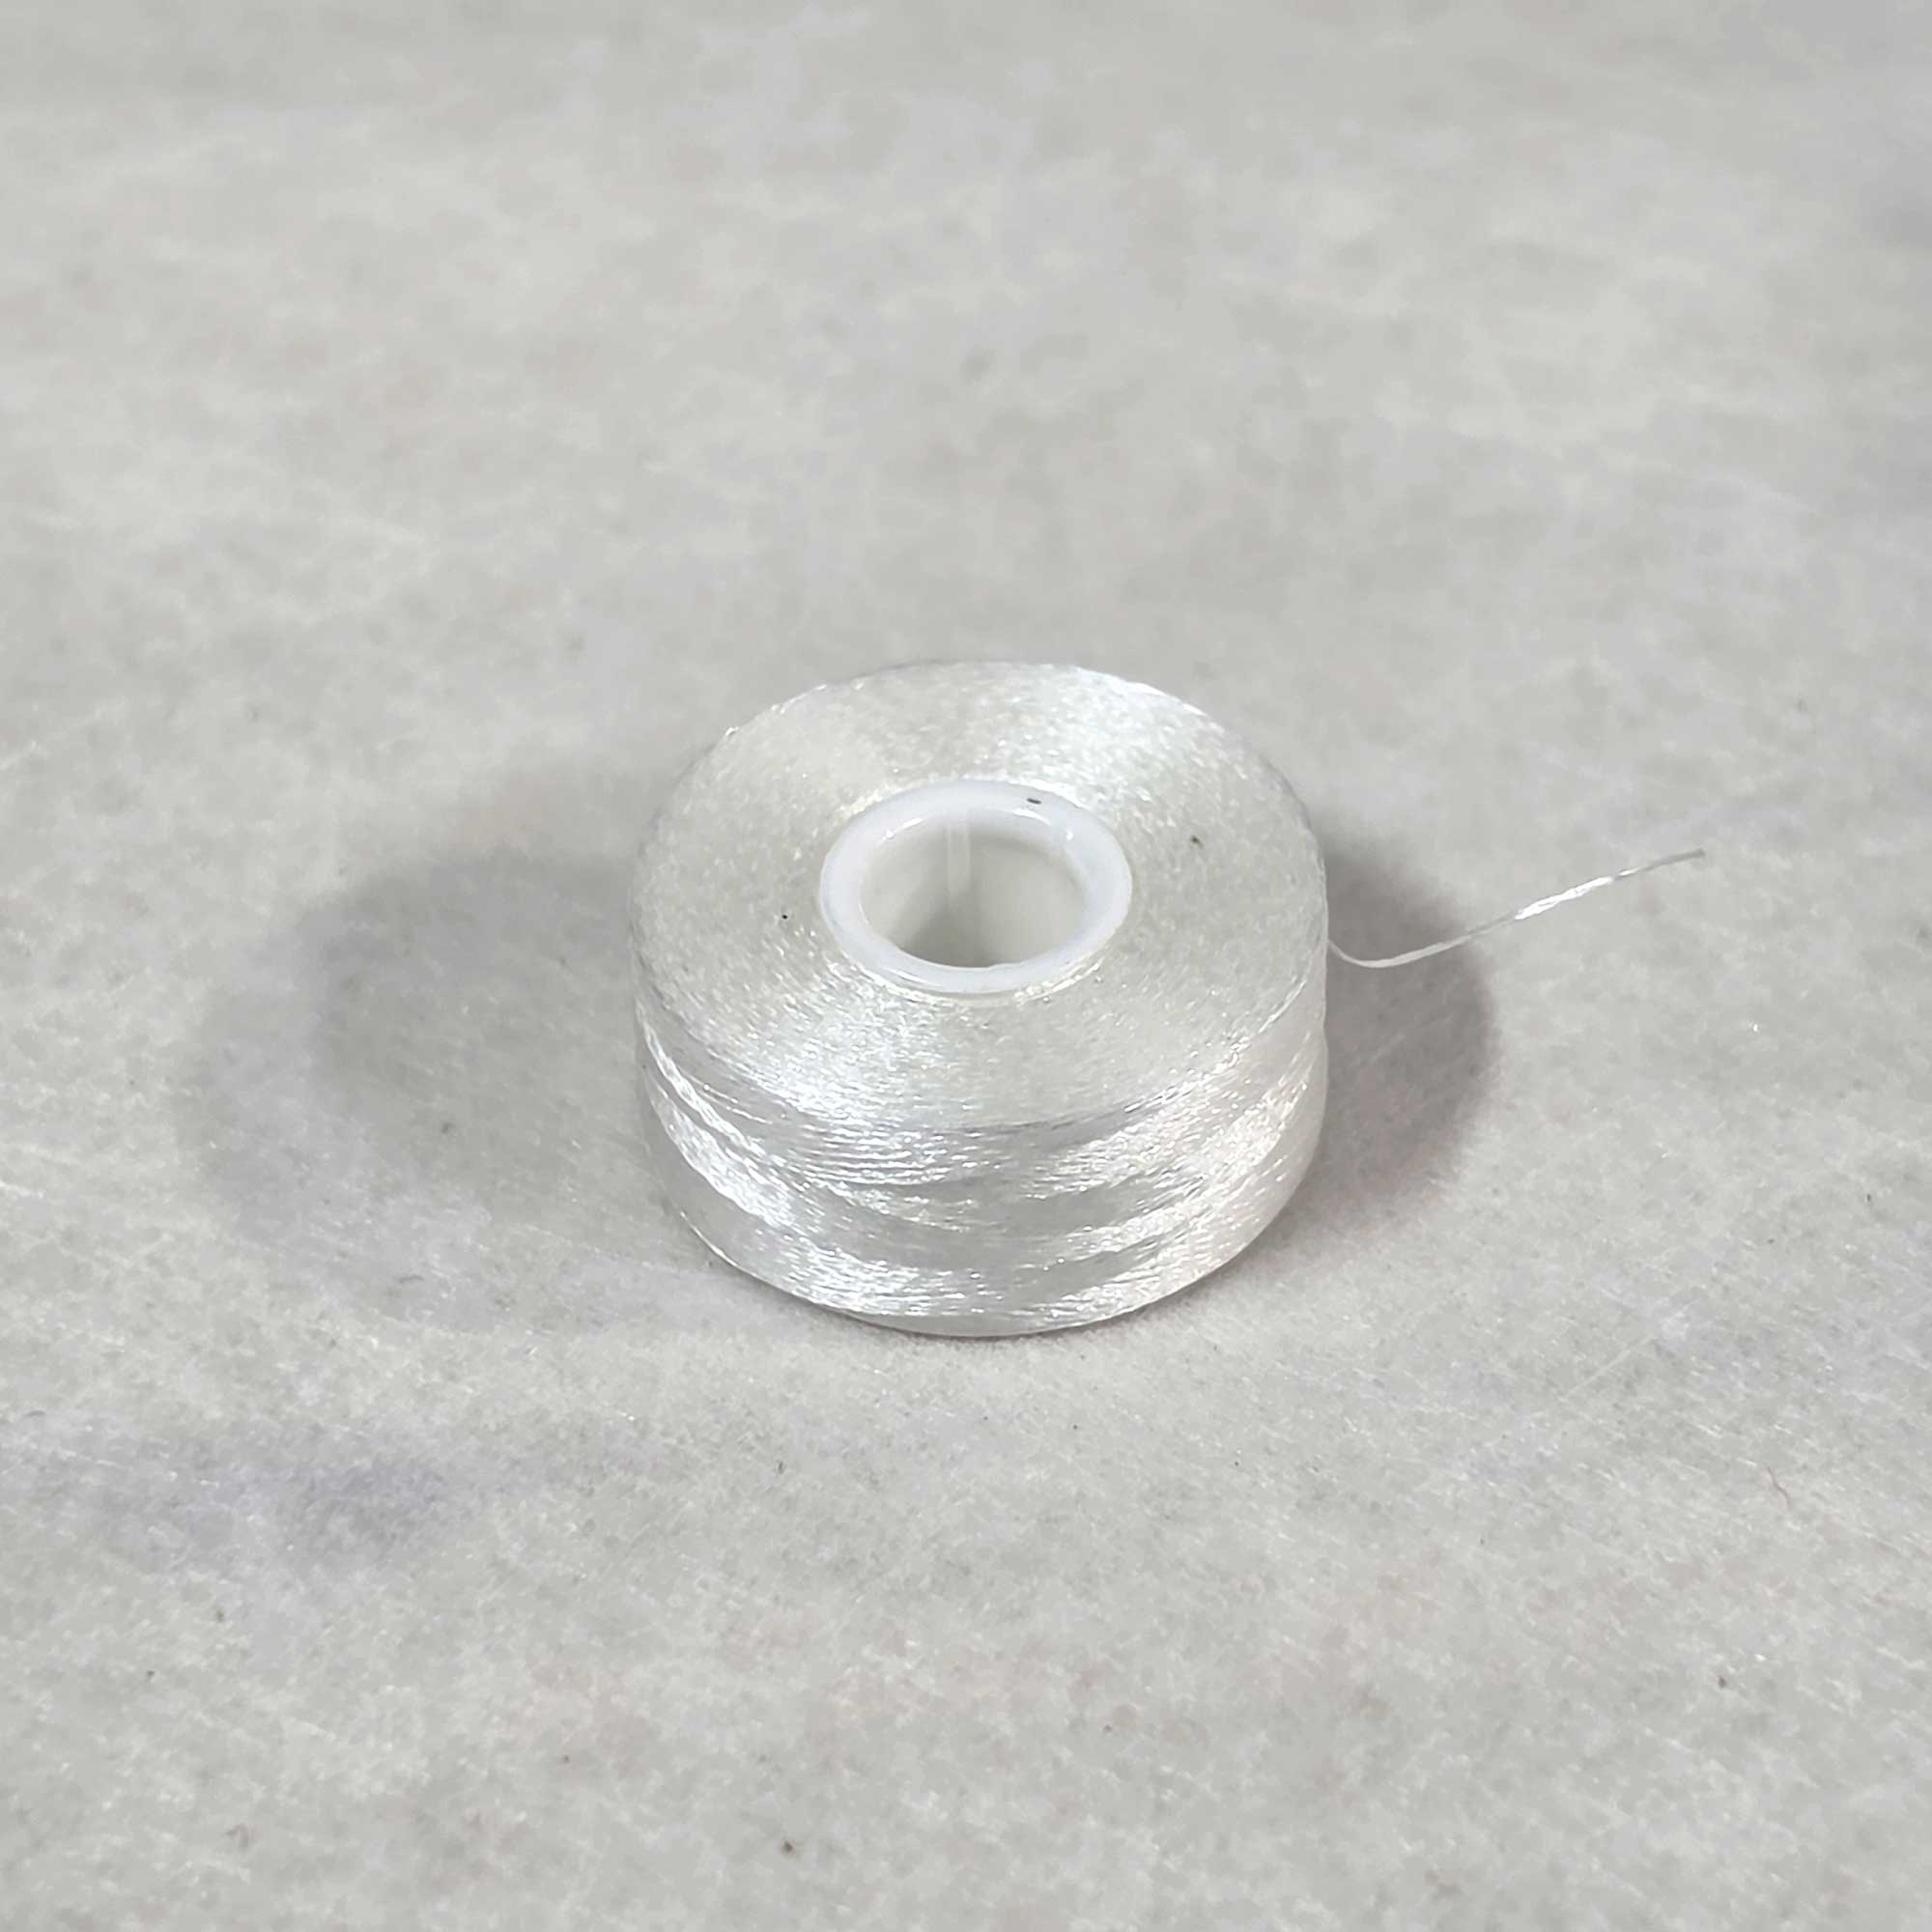
Use tearaway backing. You run the risk of cutting chunks out of the crown of the cap when trimming cutaway backing. I use medium-weight tearaway on structured caps. One layer of Cotswold’s EB350 2.5-ounce tearaway or EB 400 3.0-ounce tearaway is ideal for this application.
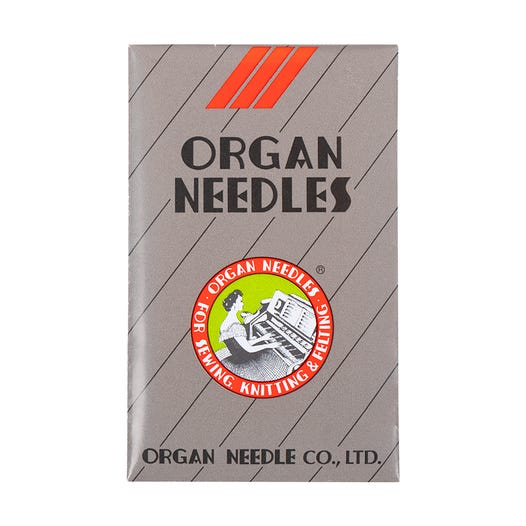
Choose a light ballpoint. I use a 75/11 size light ball point needle on everything.
Set size guidelines. Stick to these design-size parameters: 2.5 inches high x 4.5 inches wide on a structured cap and 2 inches high x 3.5 inches wide on unstructured styles. Stay ¼ inch to ? inch away from the bill. Design elements should be no smaller than ¼ inch high.
Suggest multiple placements. If the customer tries to jam too much into a single cap design to fit the size parameters, try breaking design elements up into as many as four placements (front, side, back, side).

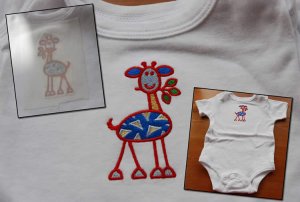
Do you find embroidering hats a constant struggle? If you’re having sewing problems, make sure the design was properly digitized to be sewn on a cap.
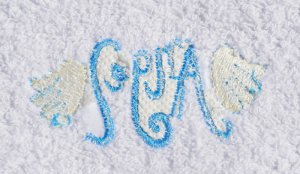
Photo courtesy of Katicap, Houston

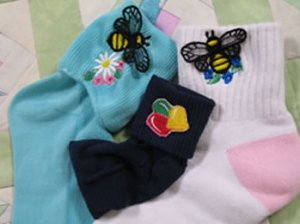
For most caps, use a tearaway backing and a light ballpoint needle for the best results.
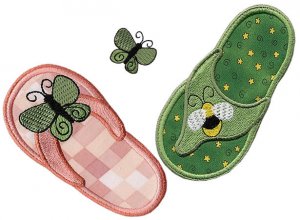
Photo courtesy of Katicap, Houst
Bunny Eisele is the owner of Echo Embroidery, Denver. She’s been in business 11 years and specializes in contract work and offers contract digitizing. You can contact her echoemb03@msn.com or www.echoembroidery.com