


All you ever wanted to know about embroidery stabilizers
All you ever wanted to know about embroidery stabilizers (backings) but were sew afraid to ask!
By Fred Lebow
This article will contain some industry terms that most of you will be familiar with and a few that only a few of you will be familiar with. For clarity sake, I will define terms as we go along.
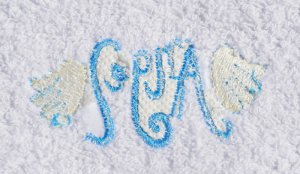
Our most important consideration for embroidery projects is getting perfect registration (the ratio between bobbin thread and top thread to create a clear and perfect design.)
In general, the key to proper registration is to create a ”tambourine skin” type tension with the material within the hoop. If the material moves, bounces or slips, you will lose registration. What a stabilizer does is aid in achieving this drum skin type tension.
A stabilizer should be stable in all directions.
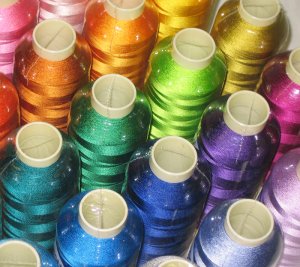
People have used all sorts of things for stabilizing. I have even heard of people, some who should know better, advocating the use of coffee filters, newspaper, paper towels etc as a backing.( Throughout this article, backing and stabilizer will be used interchangeably.)
Sewing through these items is like taking you favorite fabric shears and cutting cardboard with them – OUCH!
Paper will also break up and shred – causing excessive lint in your bobbin cases and machine parts Please note here the LARGE difference between paper and a nonwoven (Fabric-like material made from long fibers, bonded together by chemical, mechanical, heat or solvent treatment.)
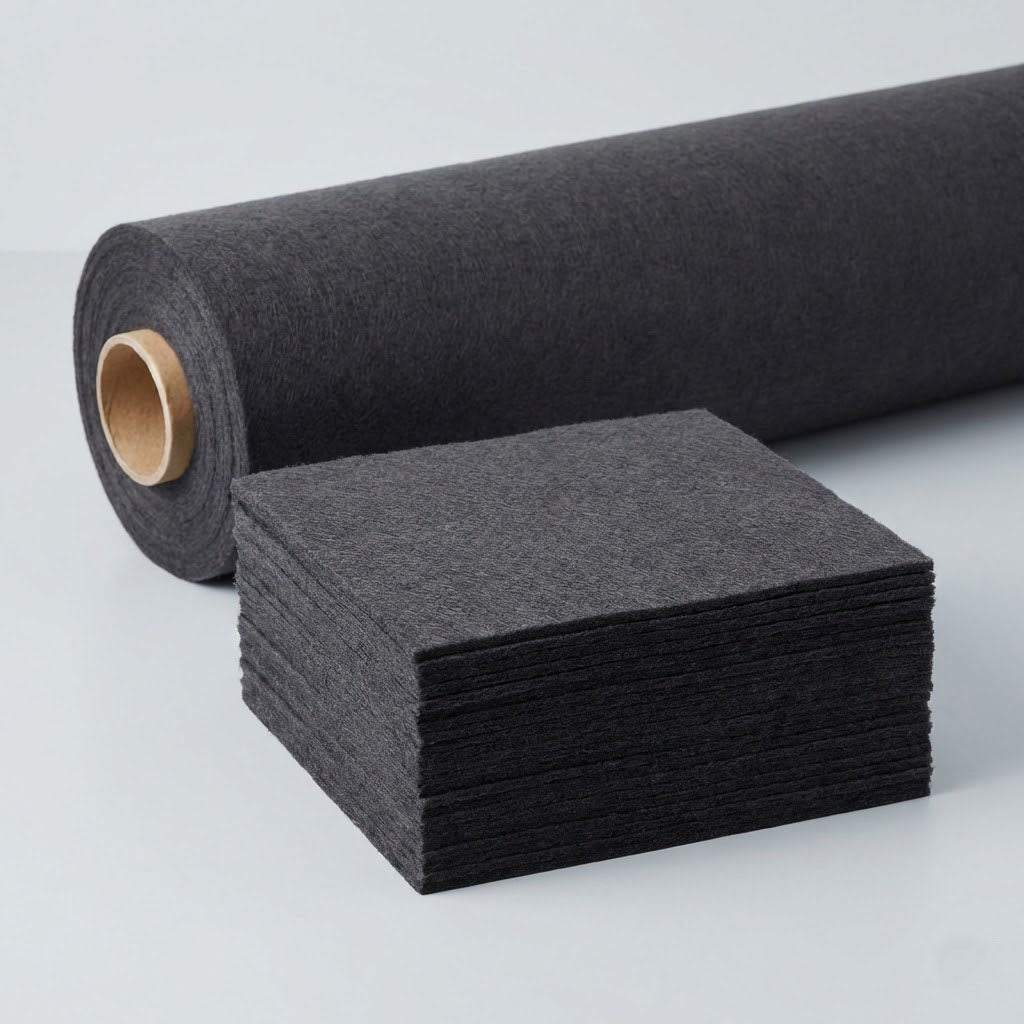
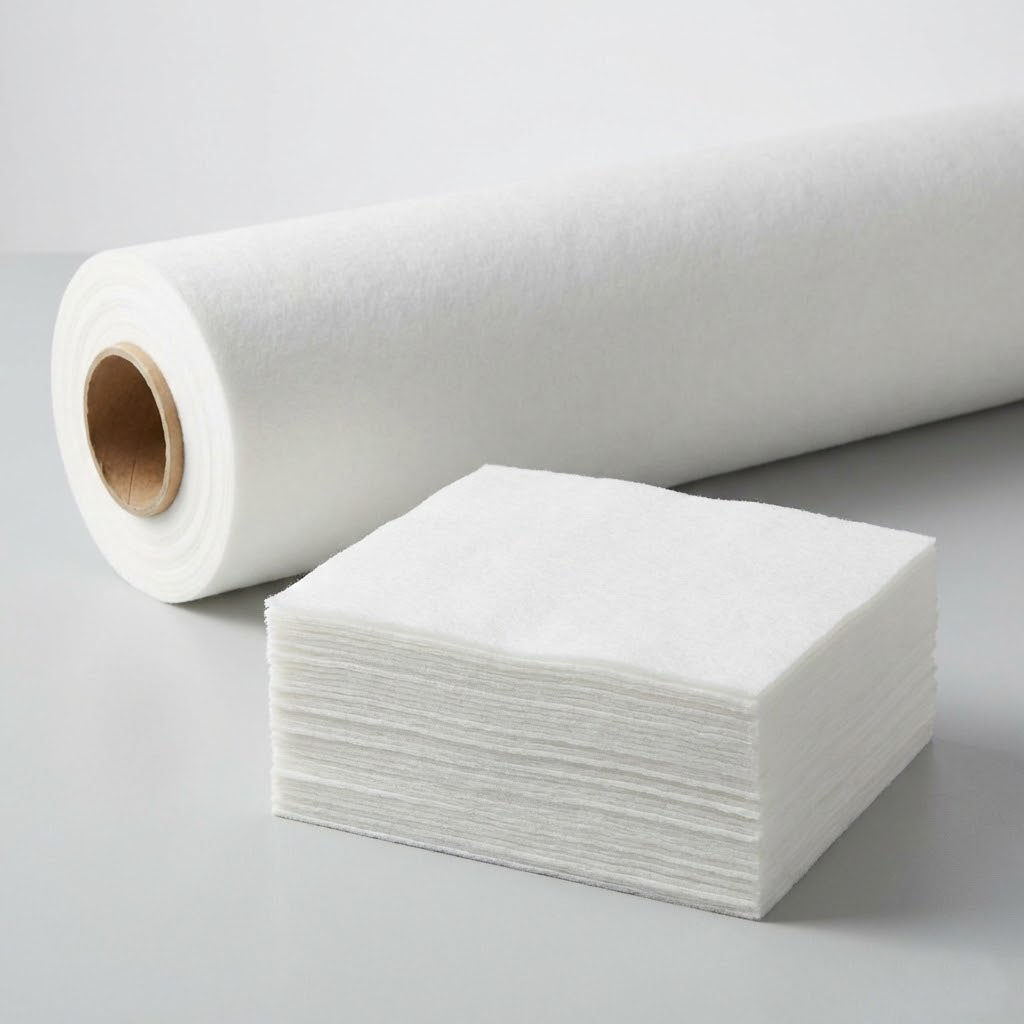
Let’s talk about nonwovens!
As far as the embroidery world is concerned, nonwoven stabilizers are manufactured by two different processes-saturate/chemical bonded nonwovens and wet laid nonwovens.
In the first process, saturate or chemically bonded nonwoven, the contents are polyester, rayon and some kind of chemical binder (something that hold the fibers together.)
It is a dry sludge (a mixture of solid material and water) as it comes off the machine and the fibers are dispersed in 2 methods.
Method 1-Carded or Directional saturate
The fibers are raked or aligned in the machine direction (MD)
There is a giant card or rake that combs the fibers in one direction
There is a definite direction to the fibers
Carded Saturate

Also called chemical bond - the fibers are raked or combed (carded) in one direction (m.d.) The fibers are then impregnated with a binder. It stretches in one direction & tears in one direction. You will need 2 pieces cross wise to achieve proper tension for embroidery.
Please note that these goods do stretch in one direction (CD) cross directionally. Therefore every time you use a carded or directional saturate you will need 2 layers laid crosswise in order to achieve a drum skin type tension. Most of these goods are made for interlinings and for other end uses besides embroidery. This type of non woven addresses the drapability factor but NOT the stability factor.
Method 2- Random Saturate
The second method of dispersal of this saturated sludge is by a random method therefore called a random saturate.
As an easy analogy to understand the method of fiber dispersal lets assume that the sludge is in a giant vat, similar in texture to cookie dough a giant spoon comes along and mixes the fibers and the fibers are dispersed randomly.
Random Saturate

Also Called Chemical Bond - The same solution as with Carded Saturates - Only dispersed randomly. Note the uneven quality, holes in saturate (thick and thin spots)
Please note the thick and thin spots!
What happens when you hit a thin spot while embroidering? The answer is that you lose tension and registration in this area.
Random saturates are made for many industries, roofing, road building, house wrapping, etc. In most cases they are NOT made for embroidery. You will see many saturates in the market, Many of them are inexpensive nonwovens made in Mexico. Some of these are great products, for roofing or road building, but for embroidery there are better choices.
The second process is Wet Laid Nonwovens. Wet laid refers to the method of fiber dispersal – using water.
Wet Laid
Much like a high quality paper, fiber is dispersed in a solution. A screen rises and the solution dries (alluvial formation) yielding a multi directional and uniform nonwoven. These are made in different weights. The idea being to always use only ONE layer.

Even Quality
Won't Stretch
Non-Directional
We do an Elmendorf tear test to assure that it tears somewhat equally in all directions.
There are 2 types of wet laid nonwovens, delta formed and rotary formed. For the purpose of this article, we will be concerned with only discuss delta formed wet laid nonwovens. (Rotary formed wet laid non wovens have similar properties with slight differences in density)
The wet laid process is similar to the fine paper making process but there are differences. The process used to take place in rivers - but they are now manufactured in a few plants worldwide w giant machines. There is a slurry of water running through a trough in a machine and there is a wire screen sitting in this trough or bath. We mix in the components polyester (a short fiber) for softness, rayon for tearabilty and stiffness, in varying percentages, depending if it is a tearaway or a cutaway being made. Cellulose is also added as inexpensive filler.
All the fibers then are bound together with an acrylic binder and we add silicone as a sewing aid.
The screen then rises and dries, similar to an alluvial formation, like a river delta. Evenly spread – there is no direction to the fibers.
This is your “tambourine skin”
The resulting wet laid stabilizers are both non-directional, dense, and soft for drapability. They can also be made firm! We do an Elmendorf tear test to make sure that they tear equally in all directions- MD & CD.
They do!
These are specifically made for sewing (the addition of silicone), and even more specifically for embroidery. They are made in weights between 1 osy (ounces per sq yard) and 3 osy.
The idea is to match the weight and density of the stabilizer to your stitch count and stitch density, taking into account the weight and stretch of your fabric. Again- this is your tambourine skin. This should result in you only needing to use one layer of wet laid stabilizer.
At this point I would like to make a disclaimer
Embroidery is a somewhat complicated business – yet it can be simple! Many people in the industry, commercial or home, do things in unique ways. There are multiple factors involved, weight and stretch of the material, stitch count and density, hooping tensions, the weather, machine tensions, thread differences, top and bottom bobbin tensions and proper digitizing. Things that work for one shop or individual will not always work as well for others.
We can only give you a guide as per the best stabilizer.
Digitizing and Stabilization
Proper digitizing is as important or more so than proper stabilization. Designs for sale are commonplace as are free designs. Some of the designs that people download for free from the Internet are not made for human beings to properly embroider with. With a properly digitized design, you almost do NOT need a stabilizer (in theory).
Ask my friend Walter Floriani – the guru of digitizing.
Luckily for me, you do need a stabilizer and we get back to the best choice, a single layer of a wet laid nonwoven.
Major Question– cutaways vs tearaways
We make both – in a non-directional wet laid nonwoven. We just change our mixtures. Cutaways have longer fibers. These fibers allow the thread to wrap better and tighter. You should get better definition with a cutaway. Unless labor in trimming is a factor, as in large commercial operation, we would advocate the use of a cutaway with most unstable fabrics. We recommend a soft cutaway on apparel.
Stable fabrics, like a nylon jacket, or a Carhartt jacket, that are very heavy almost do not need a backing. However – a wet laid non-directional tearaway will aid in slippage of the hoop and also aid in achieving your tambourine skin, thereby adding extra punch to your definition.
Proper stabilization is the foundation for good embroidery. Do not skimp on stabilizers and in the same vein do NOT over stabilize. Drapability and less bulk are the fashion bywords of today. You do not want to walk around with a bulletproof design on your chest. Try not to get into the habit of solving problems by throwing in another layer of backing. Use one layer of a dense, soft, non-directional wet laid non woven.