


press & tear directions
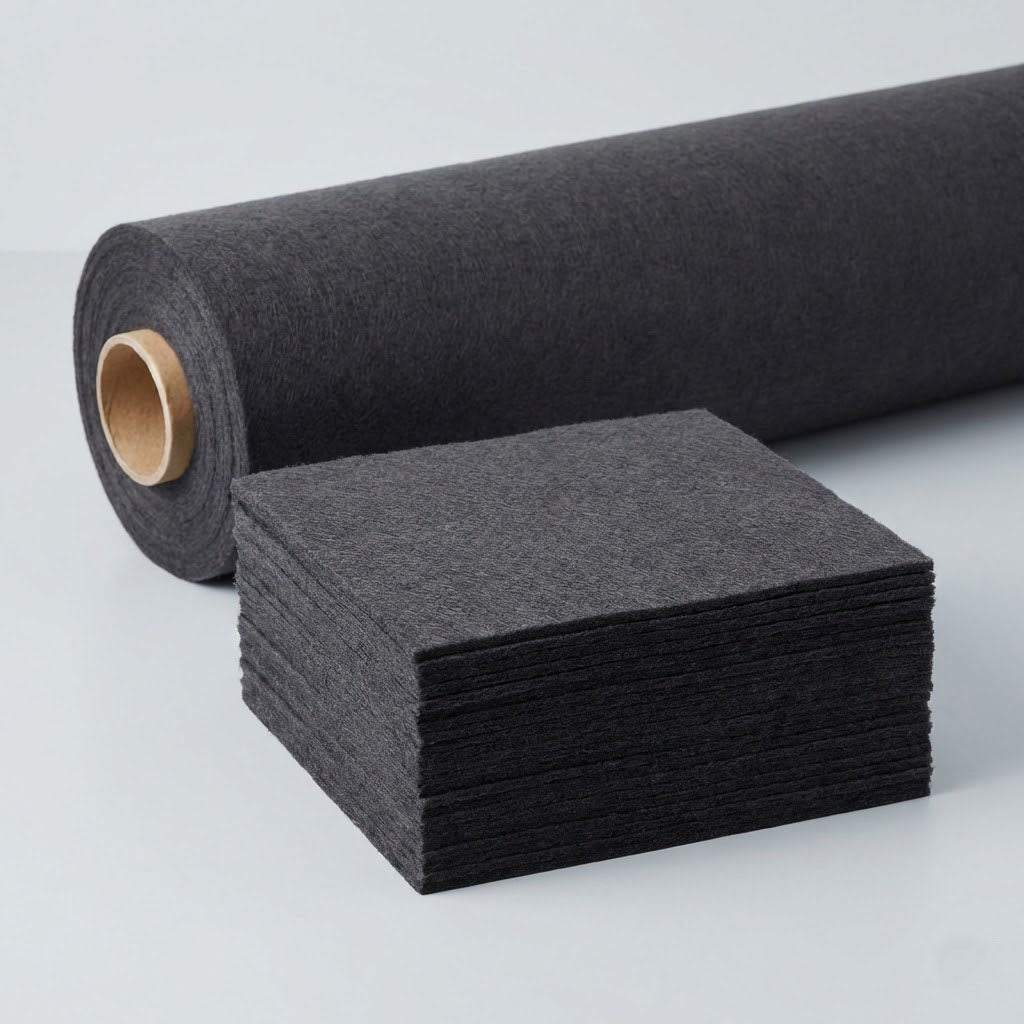
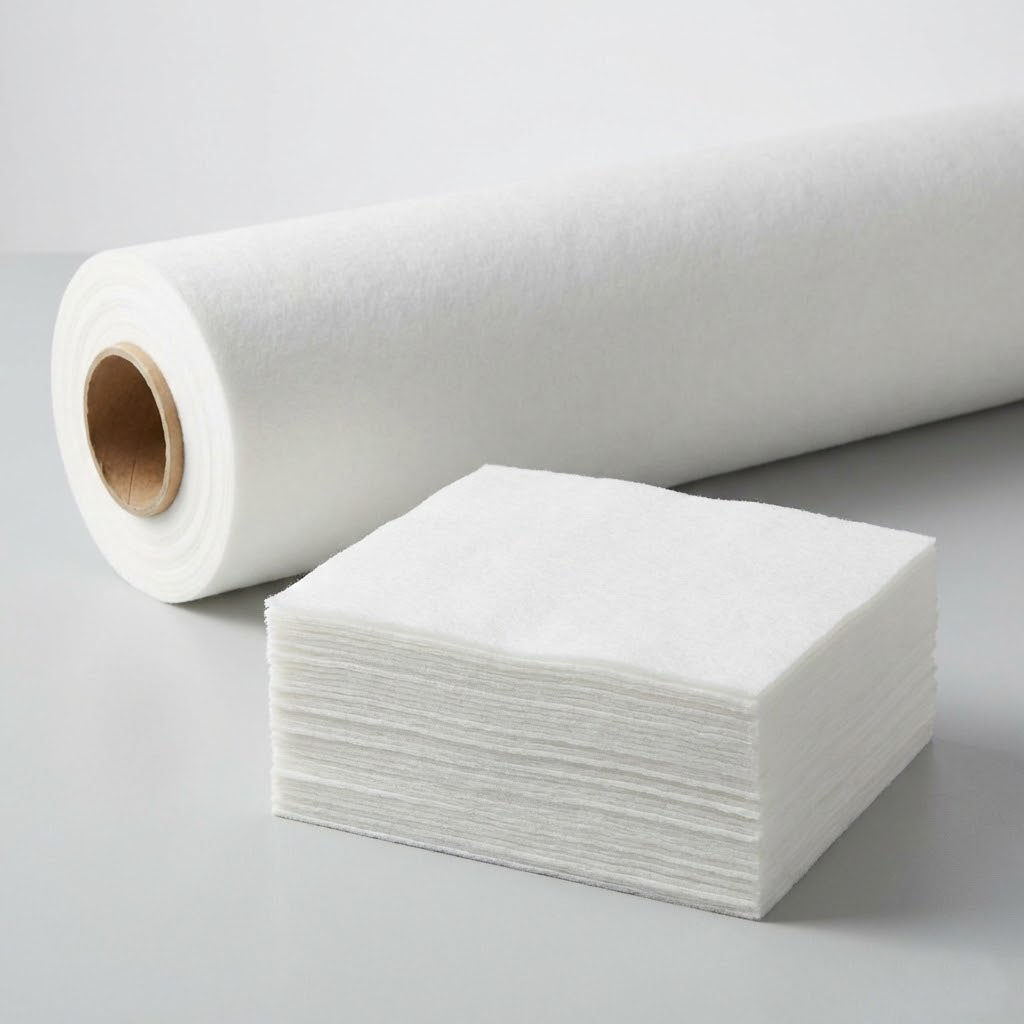
Press & Tear Directions

Press & Tear Directions
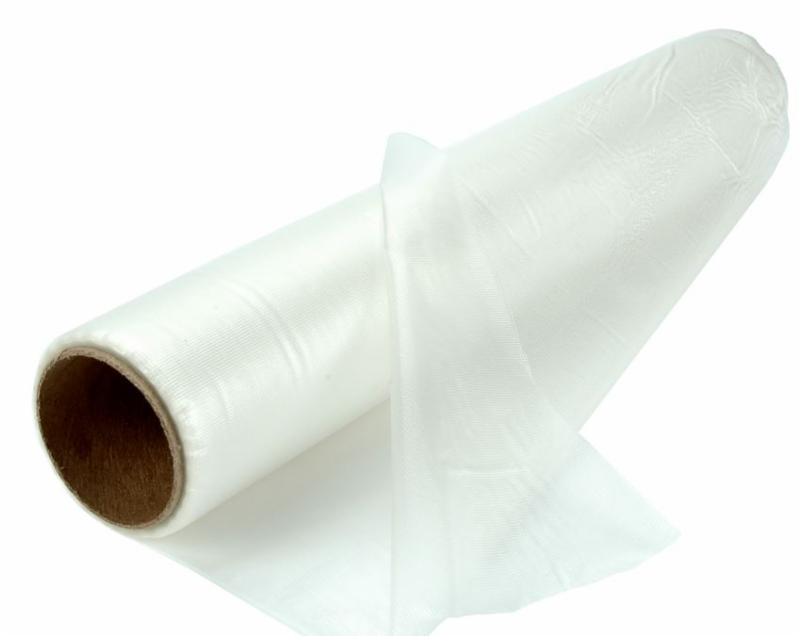
- Place one piece of Press ad Tear in the embroidery frame with the release paper side facing up.
- Score the surface or the corner of the release paper
- Peel back the paper to expose the pressure sensitive adhesive sticky surface.
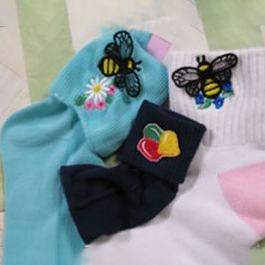
- Stick down the item to be embroidered and pat and smooth out any wrinkles.
- Stitch away.
- Remove the stabilizer excess stabilizer by gently tearing it away from around the design.
- If you have a high or dense stitch count –above 6,000 or so stitches
You can “float an extra layer of regular tear away underneath your stitching area.

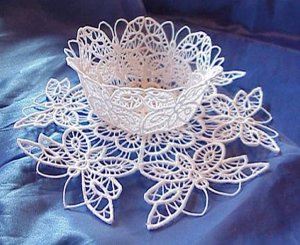
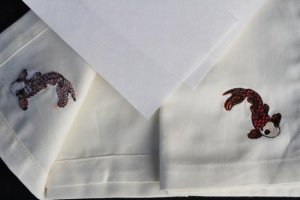
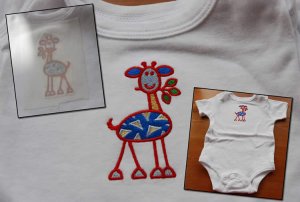
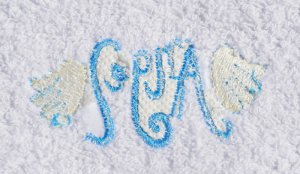
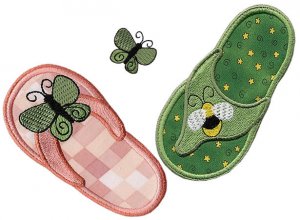
Press & Tear Photos / Designs courtesy of www.adesignbylyn.com